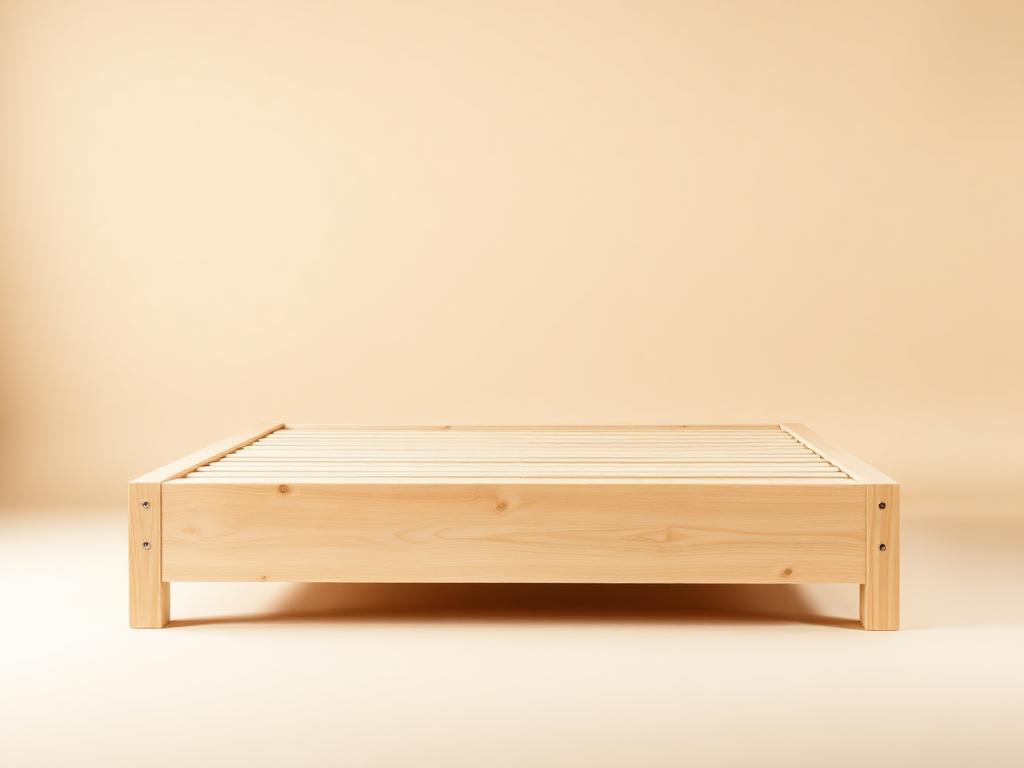
Simple Platform Bed
Bed
Drafting drawing
Units: feet & inches · Not to scaleSimple Platform Bed — overall 5' 3" W × 6' 11" D × 1' 2" H
Tools needed
- •Circular saw
- •Drill/driver
- •Tape measure
- •Speed square
- •Sander
- •Clamps
- •1/8" twist bit for pilot holes
- •Countersink bit
Materials needed
- •(4) 2x6x8 pine boards (frame rails)
- •(6) 2x4x8 pine boards (slats & legs)
- •(2) 4x8 sheet ¾" plywood (deck)
- •3" wood screws
- •1¼" wood screws
- •Wood glue (Titebond II)
- •Sandpaper 120/220
- •Finish / stain
- •Wood glue (Titebond II indoor / III outdoor)
- •Construction-grade wood screws
Optional tools & hand-tool alternatives
- •Hand saw + miter box (slower but workable)
- •Hand brace + bit set (for off-grid builds)
- •Sanding block with 80/120/220 paper
- •Heavy weights or rope-and-stick (Spanish windlass)
Cut list
| Piece | Qty | Size |
|---|---|---|
| Side rails (2x6) | 2 | 83" |
| End rails (2x6) | 2 | 60" |
| Legs (2x4) — standard | 4 | 7.75" |
| Slats (2x4) | 8 | 60" |
| Plywood deck (¾") | 1 | 60" × 80" |
Step-by-step instructions
- Step 1
Step 1. Cut all lumber for a Queen bed
Cut every piece per the cut list (frame 63" × 83", deck 60" × 80"). Label each piece with painter's tape. Joinery (Wood glue + screws): Apply a thin even bead of glue on the mating surface, clamp the joint, pre-drill pilot holes (1/8"), then drive screws to pull the joint tight. Wipe glue squeeze-out immediately with a damp rag.
- Step 2
Step 2. Sand all pieces
Sand with 120 grit then 220 grit. Knock down sharp edges so bedding doesn't snag.
- Step 3
Step 3. Build the frame
Glue and screw the 60" end rails between the 83" side rails using 3" screws. Check that diagonals are equal — the frame must be square or the mattress will sit crooked.
- Step 4
Step 4. Attach legs (Standard — 7.75")
Screw the 7.75" legs into the inside corners of the frame, flush with the top of the rails. Typical mattress-top height for most adults.
- Step 5
Step 5. Install 8 slats
Space the 8 slats evenly across the frame (~11.4" on-center). Secure each end with 1¼" screws.
- Step 6
Step 6. Add plywood deck
Lay the 60" × 80" plywood on top of the slats. Optional: screw down at the corners to keep it from shifting.
- Step 7
Step 7. Finish
Apply stain or paint. Let cure 24 hours before adding the mattress.
Safety notes
- •Wear safety glasses at all times when cutting or sanding.
- •Use hearing protection with power tools.
- •Keep fingers clear of saw blades — use push sticks.
- •Work in a well-ventilated area when finishing.
- •Unplug power tools before changing blades or bits.
Beginner mistakes to avoid
- •Skipping measurement double-checks — measure twice, cut once.
- •Forgetting to pre-drill pilot holes, causing wood to split.
- •Over-tightening screws and stripping the wood.
- •Skipping sanding between coats of finish.
Final inspection checklist
- All joints are tight and square.
- No exposed screw heads on visible surfaces.
- All edges sanded smooth (no splinters).
- Finish is evenly applied and fully dry.
- Piece sits flat without wobbling.